
If you’re managing campaigns across different audiences, products, or regions, you know how quickly things get overwhelming and messy.
- Endless duplicating of landing pages for small content tweaks
- Manual edits that can lead to costly errors
- Launches delayed by design and dev bottlenecks
You don’t need more tools, you need a faster way to personalize at scale. With Instapage Collections, now you have one.
What are Collections?
A Collection is a set of pages created from a shared template and content table. This means you can create and manage dozens to hundreds of unique landing pages from one base template, using nothing but a content table. When paired with Fluid Grid Blocks, your layout auto-adjusts, making your pages look flawless on any device without any manual edits.
For example, a meal kit delivery brand could use Collections to quickly create dynamic landing pages with tailored hero content for audiences like busy parents, professionals, and college students. All they have to do is input their content into a new row in the table, and their page is ready — no edits needed. Any updates are just as simple, and can be made to multiple pages in one place.
Collections are built to make it easy to personalize at scale and without difficulties.
What can you do with Collections?
With Collections and Fluid Grid Blocks, you can adapt your page layout to dynamic content, delivering personalized, high-performing experiences on any device.
You get to:
- Turn any landing page into a Collection and give every ad its own dedicated page destination
- Create, update, and manage multiple pages all in one place
- Publish, unpublish, or bulk-update pages with just a click
- Optimize for organic reach by generating relevant, search-friendly pages at scale
Who are Collections for?
Collections eliminate the repetitive work of creating the same page over and over with slightly different content for marketers and agencies running high-volume, segmented campaigns.
You can also use Collections to build out promotional offers such as subscriptions, promo code offers, new customer deals, seasonal events and discounts etc. Just imagine the blazing speed at which you can create landing pages if all you need to is input your content and your page is ready to go live—and your branding? It stays consistent across all pages.
Collections can also be used to streamline your influencer marketing campaigns. You can use placeholder content for each influencer, so you don’t have to build out each experience independently. You can add unique quotes or product reviews, specific promotional codes and discounts, and influencer imagery from a single template.
How to get started with Collections?
Creating your first Collection only takes a few steps. Here’s how to get started:
-
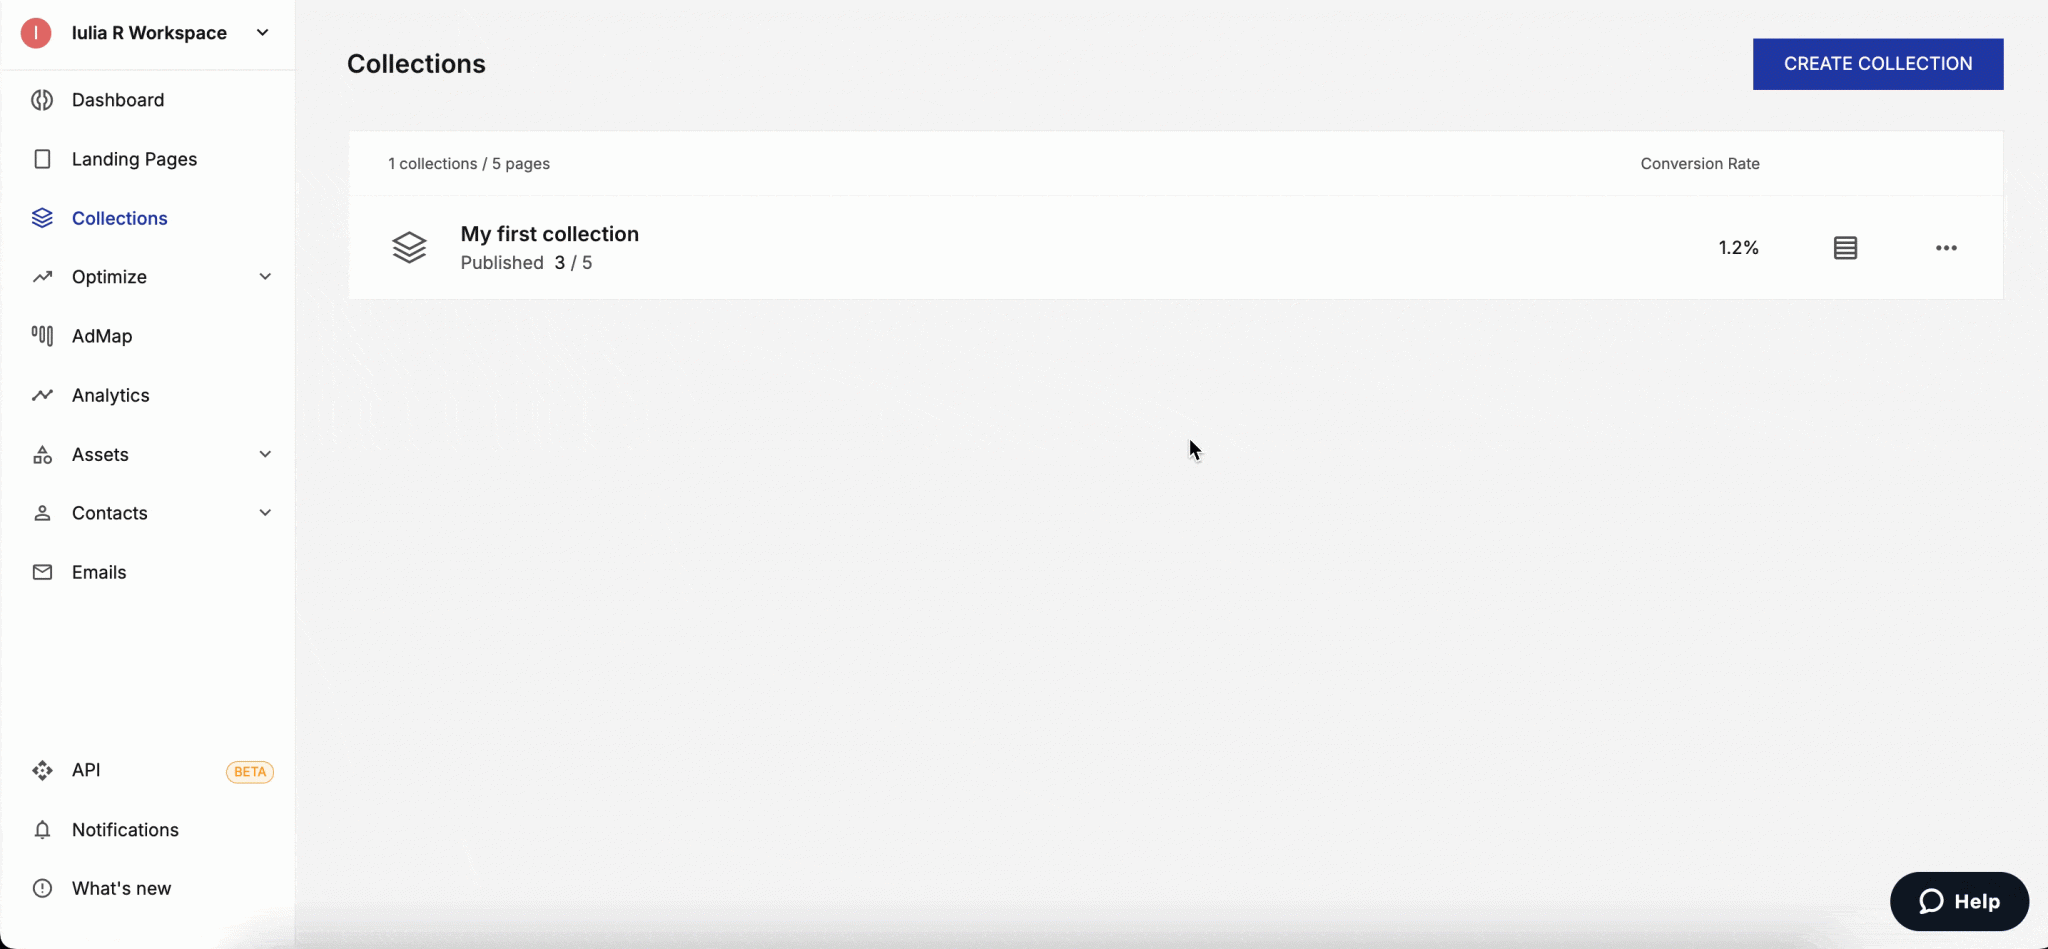
1. Click on Collections on the left side menu inside of your account.
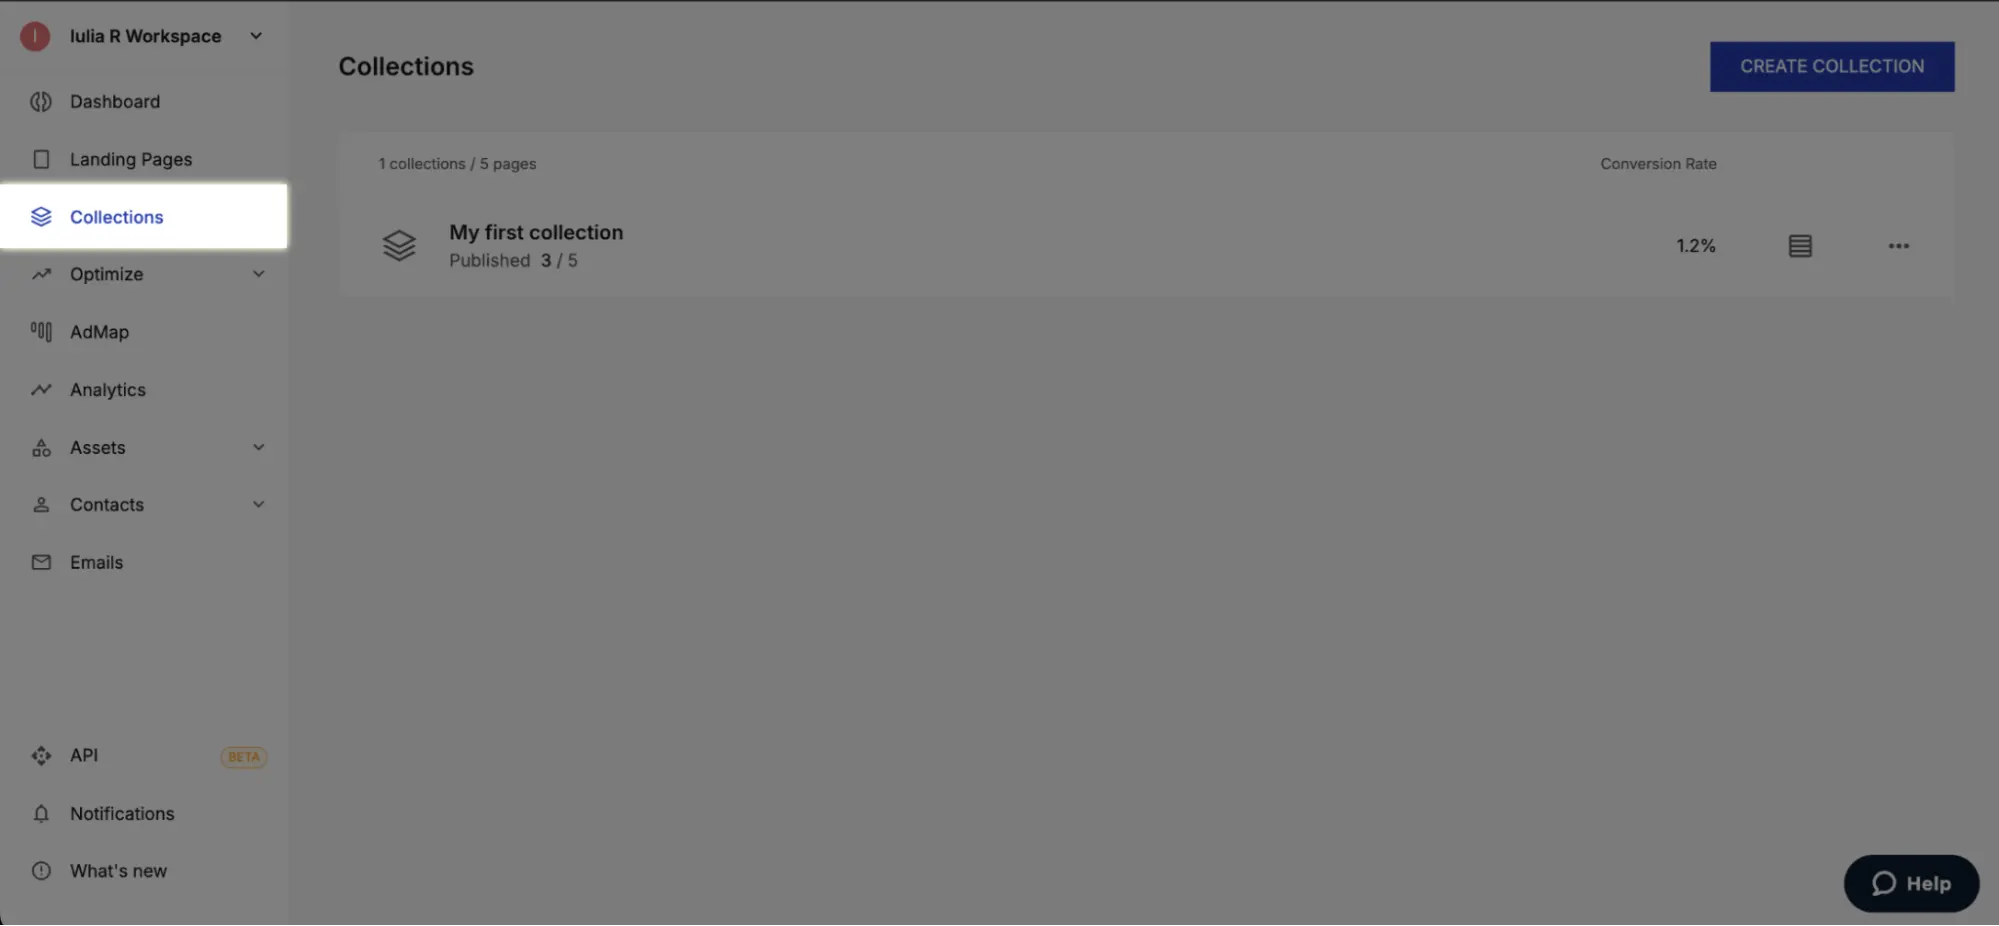
-
2. Click on Create Collection to get started. You will be asked to choose the page that you want to use and to name the new collection. You can only choose pages that are live and published through the Custom Domain method or the Pagedemo method.
-
3. Once you select Create Collection and name it, a template will be created as a copy of your selected page. You are then taken directly to the template editor and presented with the following pop-up.
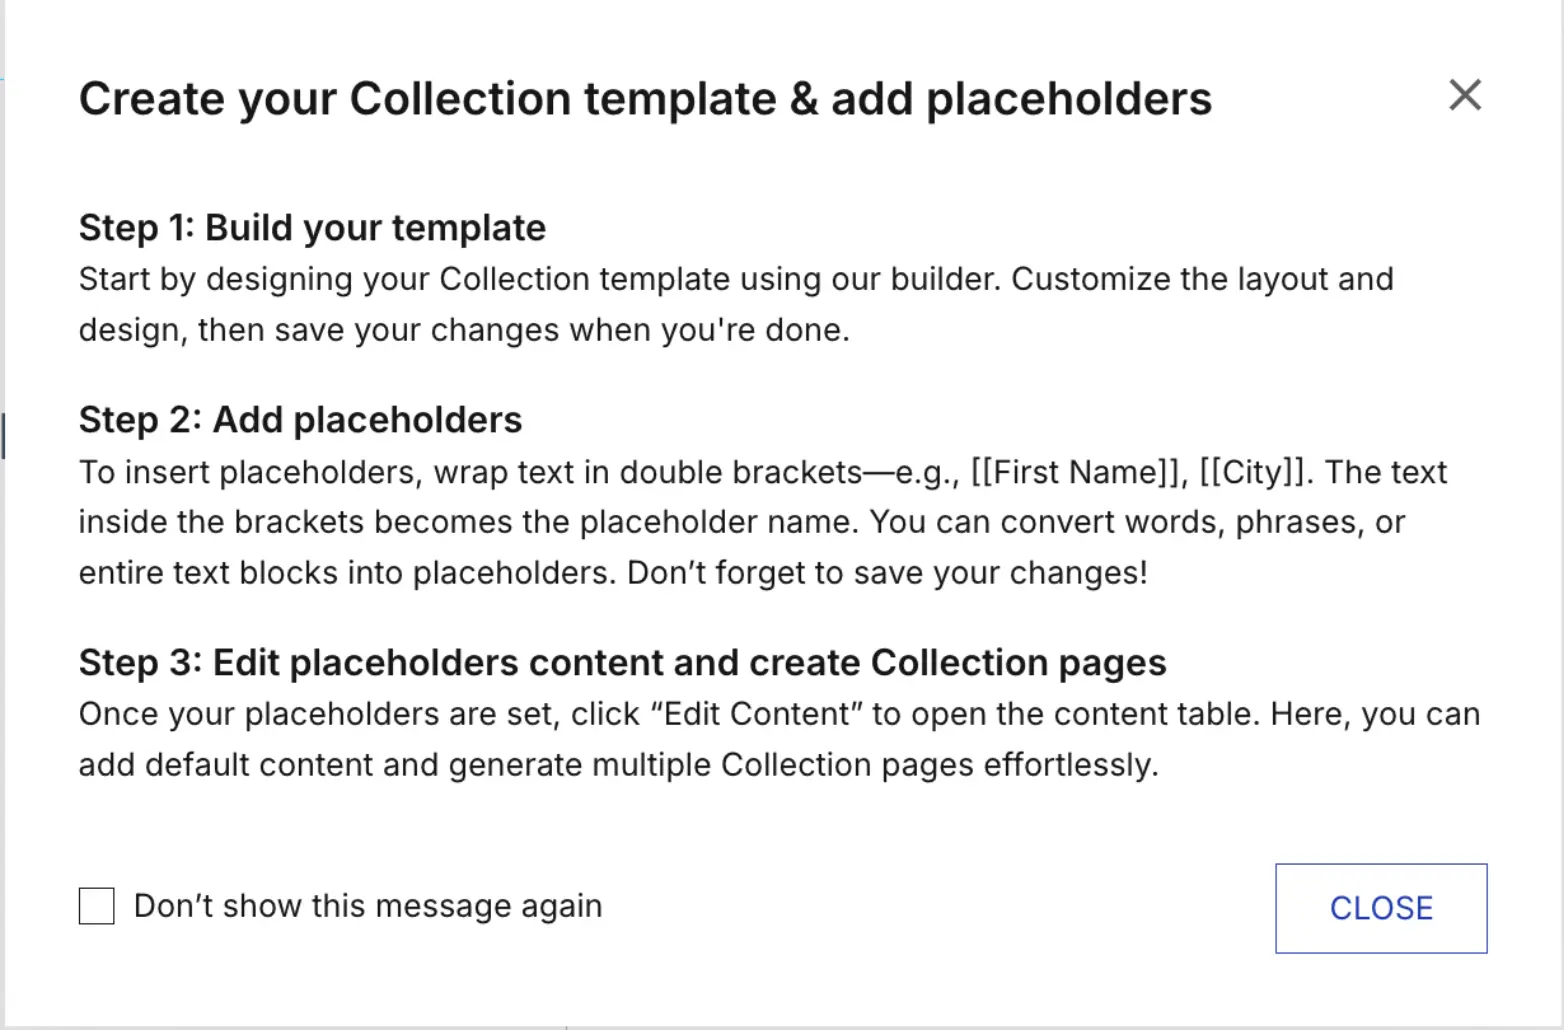
-
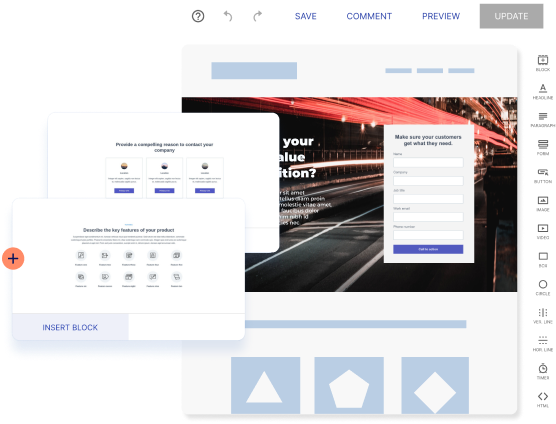
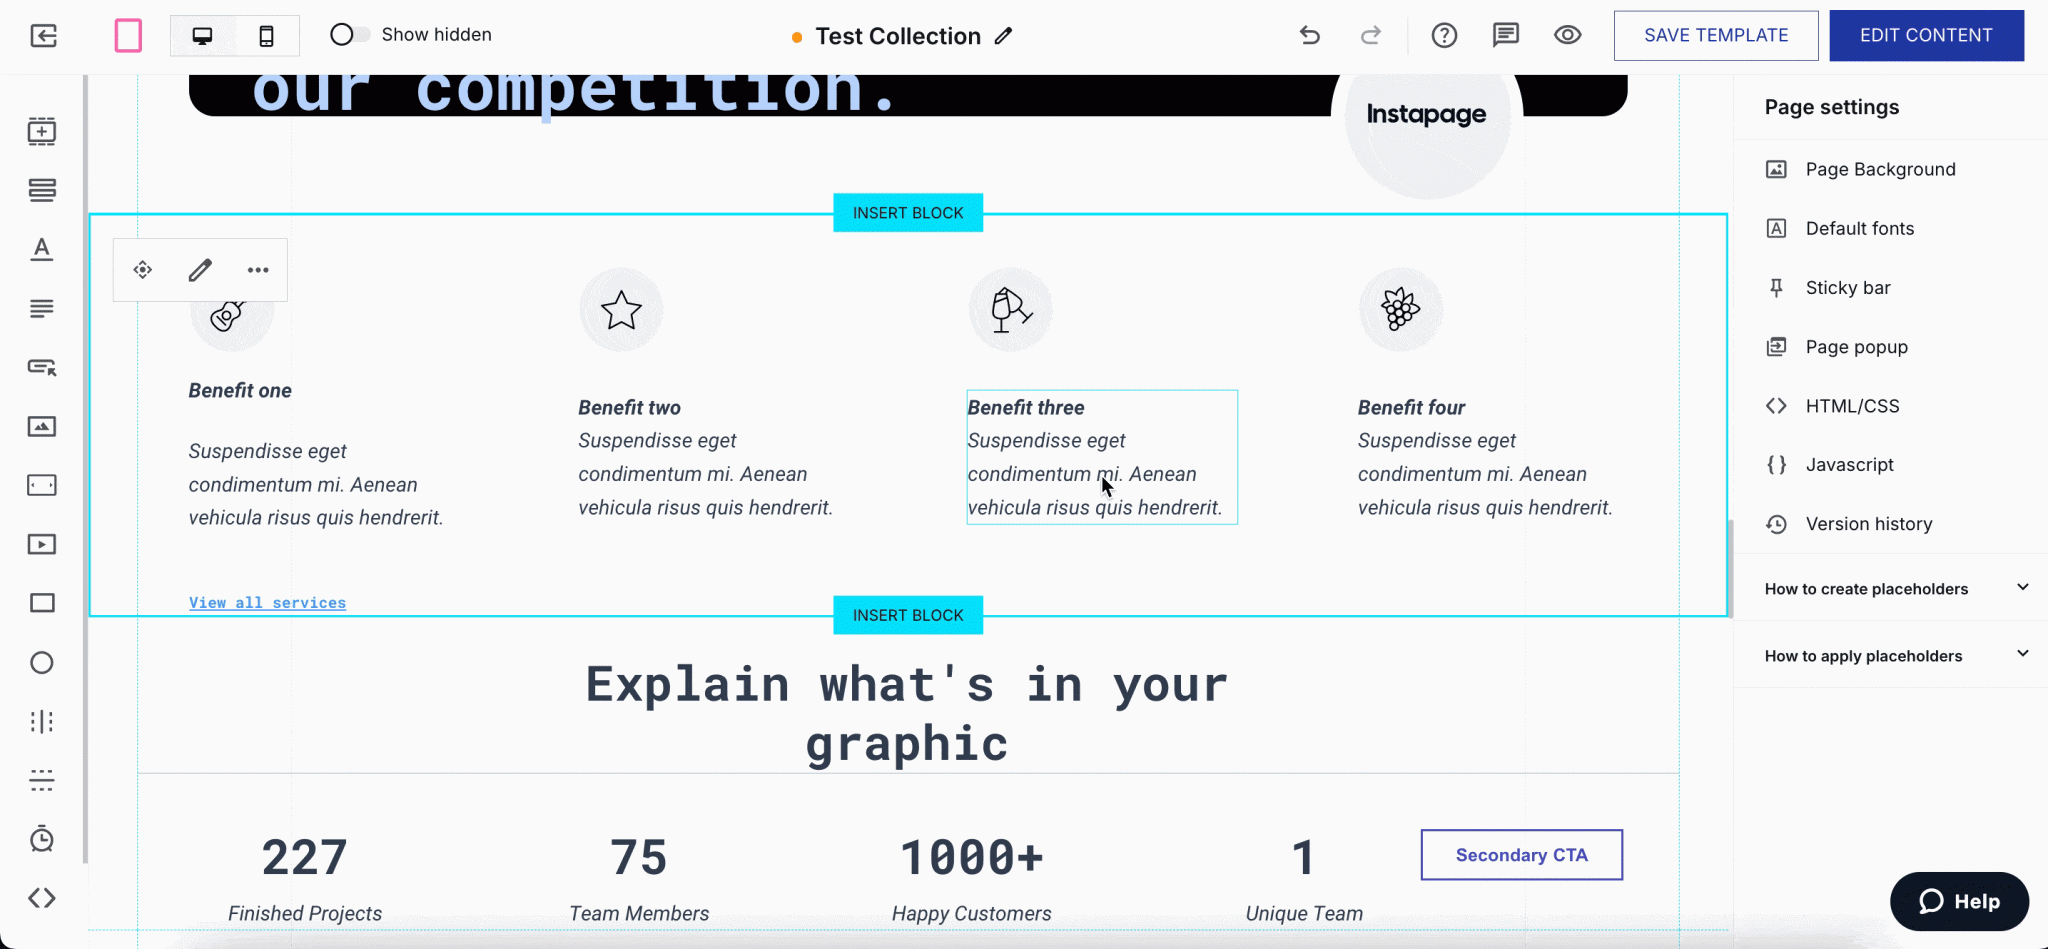
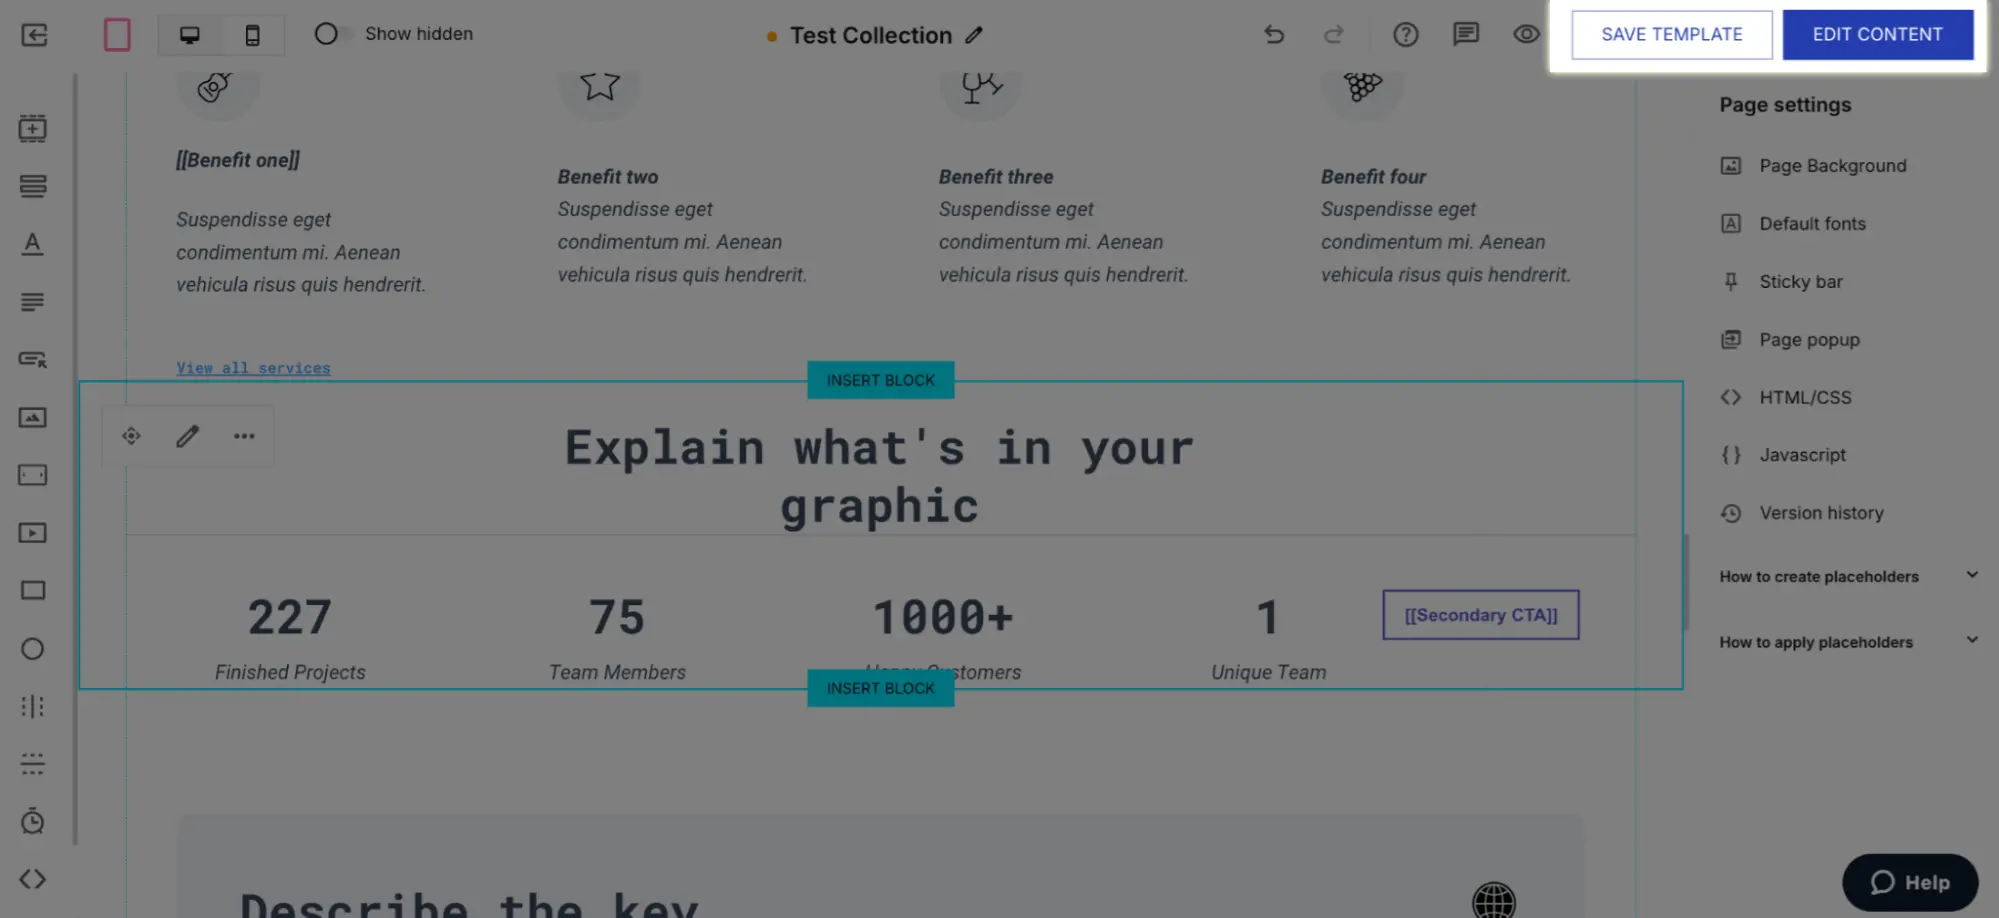
4. Add placeholders to the page. The placeholders are texts wrapped in double brackets—e.g., [[First Name]], [[City]]. The text inside the brackets becomes the placeholder name. Placeholders can be added to any element that can contain text: headlines, paragraphs, buttons, etc. They even can be reused across their template. For images, just toggle on “Image“ under the “Placeholders“ section within the specific element’s settings.
5. Use descriptive names that will help you identify exactly what you are editing without seeing the page. When you reach the content editing stage, these placeholders will each become the head of a column.
-
6. Click on Save Template at the top right to save the current changes. To manage the content of the placeholders inside the Collection, click on Edit Content.
-
7. Within the content table, first update the Default Page. You can edit the default base URL, which every Collection page will share. Then input the field values for your default page. Any Collection page without custom values will also show these.
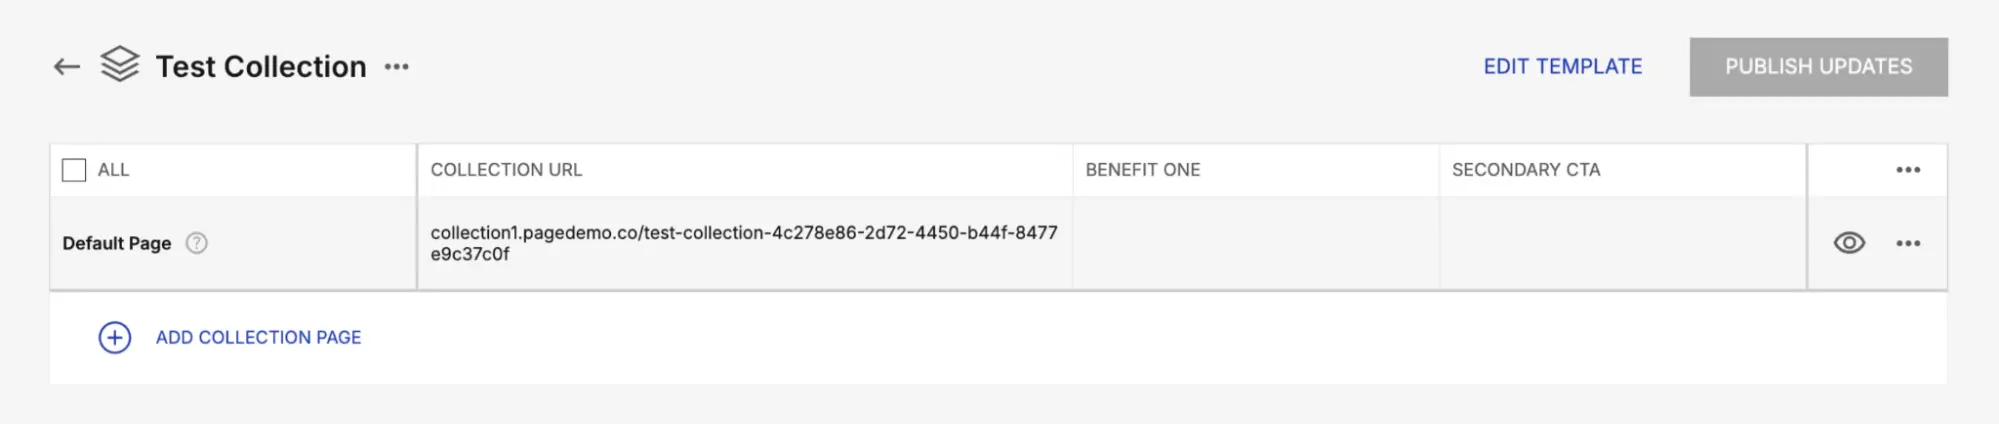
-
7. Click on Add Collection Page to generate new pages in seconds. Edit and input field values as needed.
You can click on the eye symbol for each version to see a preview. Once you have added all your pages, you can click on the Publish Updates button at the top, and start using them right away to fuel your campaigns and growth.
And that’s pretty much it.
Get ready to automatically generate tens to hundreds of personalized pages in minutes
With Collections, you don’t have to choose between your sanity and personalization. Collections empowers any team to easily create personalized pages at scale — without the maintenance headaches, process bottlenecks, or team overload. They let marketers truly realize and capture the full value of personalization.
Whether you’re personalizing by audience, industry, or location, Collections help you launch faster, stay organized, and convert more.
Create your first Collection today with an Instapage 14-day free trial.
