Do you own a website, and manage your content with a CMS?
You’re probably a WordPress customer.
While we’d like to fancy ourselves magicians, the truth is we’re not psychic. It’s simple math. Of all the websites that use a content management system, nearly 70% of them are powered by WordPress:

That adds up to over 1,300,000 websites — nearly seven times more than the next biggest CMS, Joomla.
If you’re one of the millions running WordPress, we’ve got some exciting news for you!
You can now create post-click landing pages with Instapage in a matter of minutes, and publish them to WordPress with a few clicks of your mouse. Here’s how:
How to create a post-click landing page in WordPress
Step 1: Sign into your Instapage account
Step one, of course, is to log into your Instapage account. If you don’t have one yet, you can create one for free here.
Once you’re in, click the “Create New Page” button.
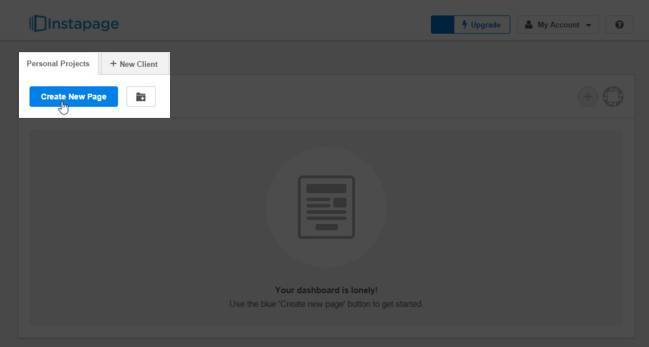
Step 2: Pick your creation method
Now you should sees a pop-up that will give your three options to get started creating your WordPress post-click landing page:
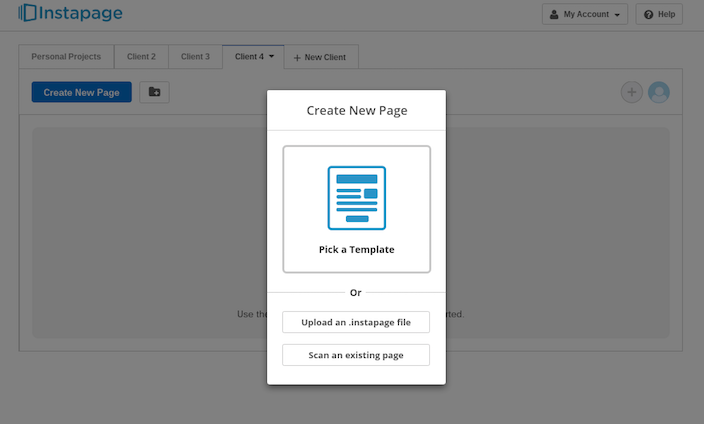
- If you’ve saved any post-click landing page designs, you can upload a “.instapage” file
- If you have a Premium account, you can scan pages from your website into our editor
- If you want to start from scratch, pick one of our pre-designed templates
Step 3: Decide what kind of WordPress post-click landing page you want to build
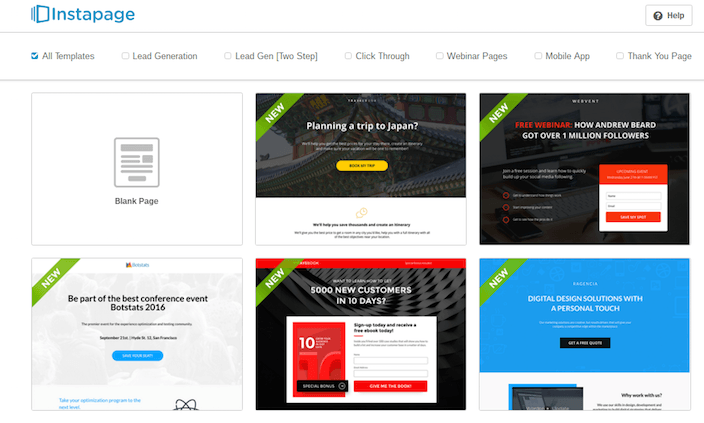
Let’s assume you want to build a post-click landing page from scratch. Before you choose one of our templates, sort them by the type of WordPress post-click landing page you want to create using the menu across the top of the page.
Pick from:
- Lead Generation
- Lead Generation (2-Step)
- Click Through
- Webinar
- Mobile App
- “Thank You”
Step 4: Create your WordPress post-click landing page
Now’s the time to get those creative juices flowing. Click any element on the page to select it, and delete, drag, or edit it with the click of your mouse. Here’s what our sample post-click landing page looks like:
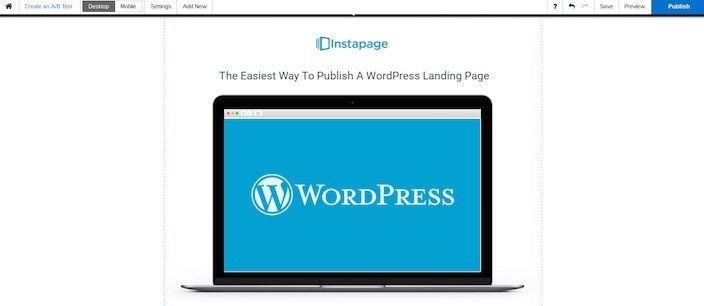
Once you’ve created a compelling headline, added some eye-catching images, written some benefit-centered copy, and included some social proof and testimonials, you’re ready to publish your WordPress post-click landing page.
Step 5: Publish your WordPress post-click landing page
landing pages for WordPress are super-simple to publish with Instapage. Now simply move your mouse cursor to the upper right-hand corner of the page and click the blue “Publish button“.
Once you do that, you should see a pop-up like the one below:

Click “WordPress,” and you should see two buttons appear:
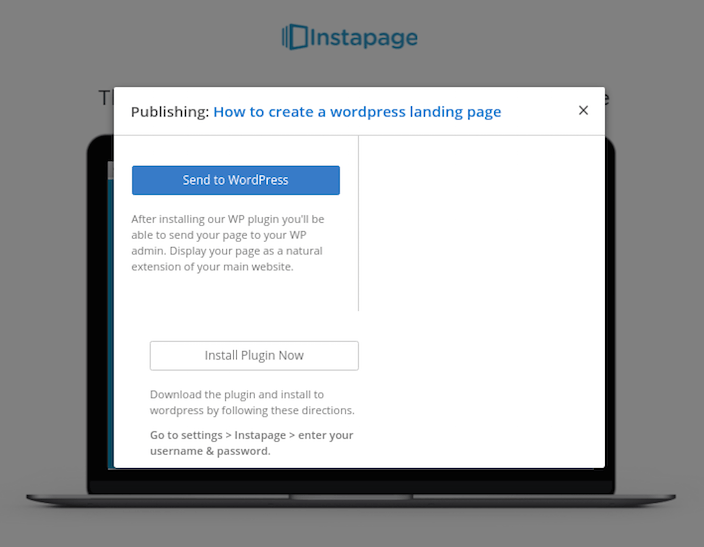
Before you click the blue “Send to WordPress” button, you’ll first need to install the Instapage plugin to your website. Don’t worry, that’s super-simple too. Find that plugin here.
Now, check out this brief, two-minute video that will show you step-by-step how to install the plugin and activate it in WordPress:
.embed-container { position: relative; padding-bottom: 56.25%; height: 0; overflow: hidden; max-width: 100%; } .embed-container iframe, .embed-container object, .embed-container embed { position: absolute; top: 0; left: 0; width: 100%; height: 100%; }
It’s that easy
Pretty simple, right? It’s even easier than creating a post-click landing page in WordPress itself. To learn more about how to drive traffic to your WordPress post-click landing page, optimize it, and to see some great examples, check out this blog post.
Now, get started creating your WordPress post-click landing page, sign up for an Instapage Enterprise demo today.

See the Instapage Enterprise Plan in Action.
Demo includes AdMap™, Personalization, AMP,
Global Blocks, heatmaps & more.
